Originally featured in Texas Saltwater Fishing Magazine June 2022 issue
by Nick Haddad
Return ‘Em Right Sustainable Fisheries Communications Manager
Barotrauma: What Makes Fish Float
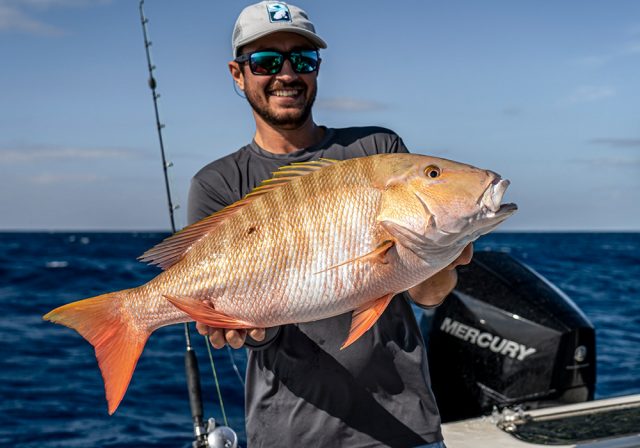
Many anglers have experienced the unpleasant sight of a big snapper or grouper floating off after release. We have all seen it before, turned our heads and attempted to ignore it, but deep down it stings. No matter what your thoughts are towards fisheries management, regulations or conservation, reef fish floating off after release is a tough pill to swallow.
What makes reef fish float off after release? Most offshore bottom fish experience a phenomenon called barotrauma, which quite literally means pressure (baro) – injury (trauma). As fish are reeled up from deep water (typically 50-60’ or greater), the gas inside their body cavity expands, displacing organs and leaving them bloated and unable to return to depth on their own. Fishermen often notice the effects of barotrauma when they see the stomach of a fish protruding from its mouth or feel the fish’s stomach and it is firm or bloated.
Put ‘Em On Ice or Use a Device
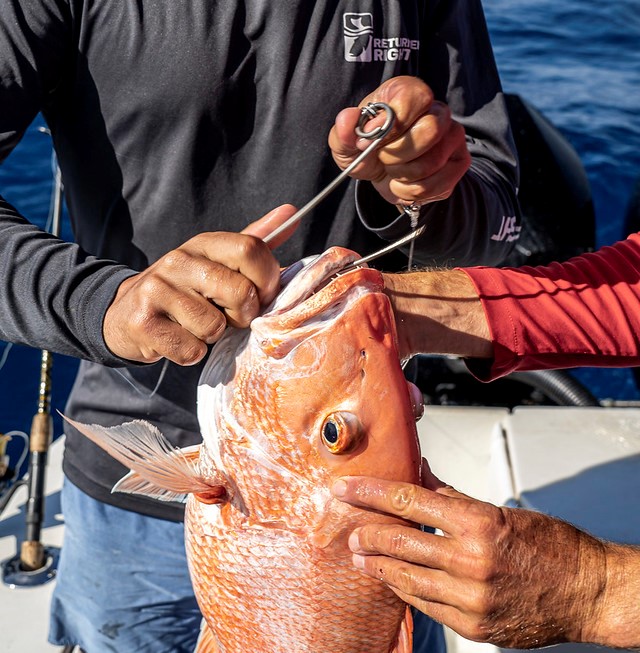
For many years anglers have primarily mitigated barotrauma using venting techniques. Venting involves using a hollow hypodermic needle or tool to release the excess gas in the body cavity of the fish. Although effective when done properly, venting requires knowledge of the anatomy of a fish, precision with the use of the tool, and can cause further harm if not performed correctly.
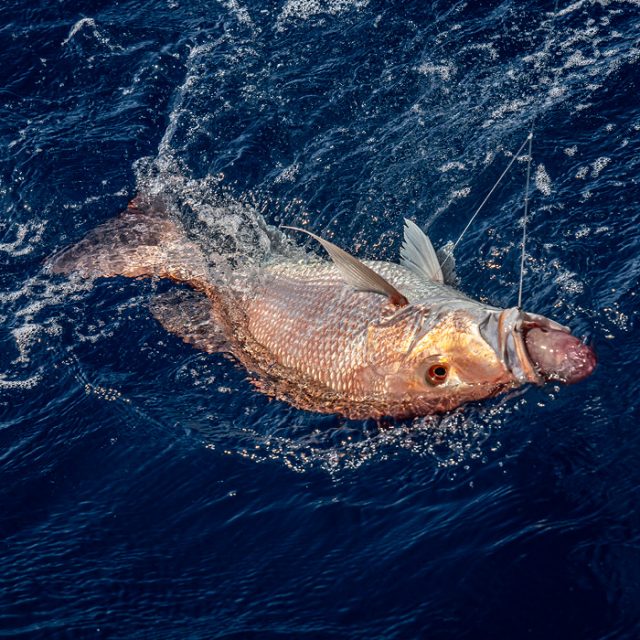
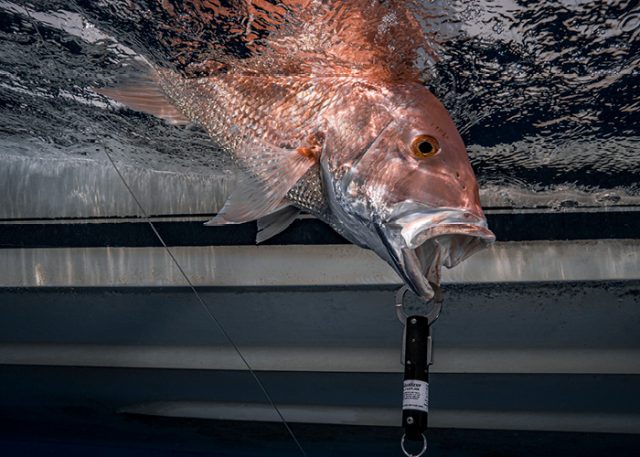
More recently, the use of descending devices has taken off as one of the most effective and easiest methods to mitigate barotrauma. Descending devices are weighted devices that carry fish back down and release the fish at depth, allowing them to naturally recompress upon descent. Descending is proven to be extremely effective at increasing long-term survival of fish suffering from barotrauma.
Despite their existence for years, the phrase “descending device” is still relatively uncommon to the majority of anglers across the Gulf. As the popularity of their use continues to grow, so does the need to remind anglers how to properly use the devices and maximize the chances a fish survives to grow, spawn and fight again.
Descending Devices: What’s the Hype?
One of the great things about descending devices is that there are several options available commercially, and you can even make them yourself at home. Descending devices are typically grouped into three categories which includes lip grip devices, inverted hooks, and fish elevators (or weighted crates/baskets). All of them work similarly where a device is used in combination with a weight to lower fish back down to depth, and during the process, the fish recompress naturally.

Transition from Venting to Descending
Admittedly, the first time I used descending devices five years ago, I had no idea what I was doing with the gear we brought on board. Even when the first out-of-season red snapper hit the deck, I was equally unprepared and spent too much time fooling around with the devices, fiddling with the fish, and hurting the fish’s chance of survival while wasting my own fishing time. After years of experience using different styles of devices on different sizes of fish, I’ve become comfortable and confident in a system that makes releasing fish a positive part of my fishing trip. As my confidence grew in using descending gear, so did my preference for using these devices over venting tools. I am hoping this article helps improve anglers’ first experiences using descending gear and inspires confidence in use of the devices.
Tips and Tricks to Make Descending a Positive Part of Your Fishing Experience
Having the right system in place on your boat for descending will make a world of difference in your confidence and success in using the gear. Being prepared to release fish before they hit the deck is not only important for the fish, but for the angler too. The more prepared you are to help release fish you can’t keep, the more time you can spend fishing and the better the fish’s chance of surviving release are.
Make descending fish an easy, efficient and effective part of your fishing experience by following the tips and tricks below that have helped me along the way:
1. Rig your descending gear before you make your first drop:
Descending devices typically require a rod/reel designated for descending. I prefer to use a two-speed reel with a heavy rod to make reeling up the weight much more efficient. If you have a spare electric reel setup and ready to go, consider using this to descend fish if you aren’t fishing with it. Lastly, some anglers will use an old broken rod or a kite rod as their designated descending rod if they prefer a smaller, more compact set up.
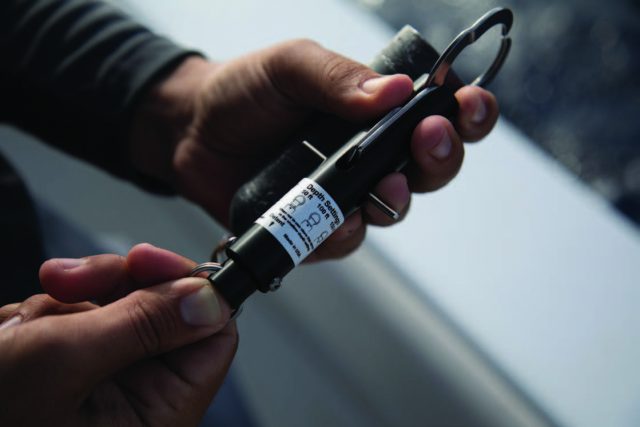
When using a SeaQualizer descending device that releases based on pressure, set your depth accordingly based on your fishing depth. It is recommended to release them to at least half the capture depth, but I like to get them as close to the bottom as possible. For example, if you are in 120’ of depth, set the release depth to 100’ before you start fishing.
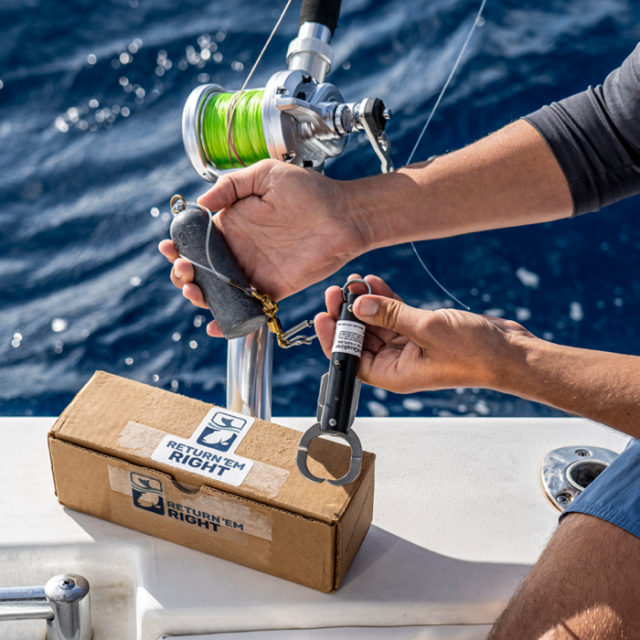
Every descending device requires a heavy weight to bring the fish back to depth. Consider rigging the weight on your device with a loop knot or a swivel to make adding/removing weight quick and easy. This also allows you to quickly remove the weight while running between spots, so the lead isn’t bouncing around causing damage to the boat. I like to start with a 3-pound weight, as this will get most fish up to 15+ pounds down to the bottom without a problem.
2. Position your descending setup for efficient use:
I like to use a bent butt rod and place it in the 30–90-degree rod holder so the descending gear hangs over the water and is within reach and ready to drop when needed. By using a bent-butt rod, you can let the boat do the work while retrieving the weight from depth instead of fighting the rod and weight back up. This setup allows a single angler to quickly transition a fish that cannot be kept to the device and lower it down on their own without needing the help of a mate or an additional angler.
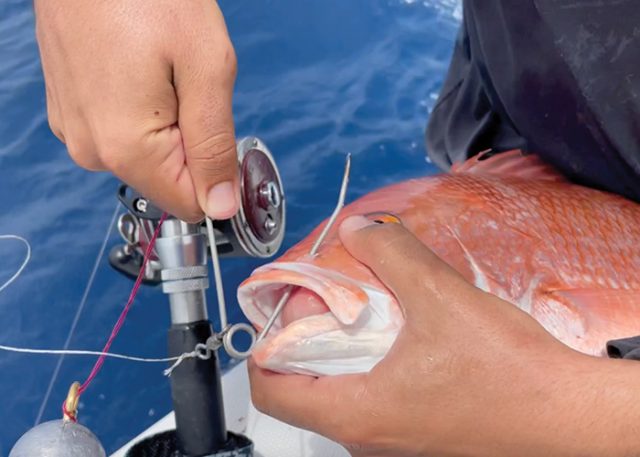
3. Properly attach your descending device to the fish:
Always attach your SeaQualizer or other lip grip device to the bottom jaw of the fish. Most reef fish you will catch will have a slightly thicker bottom jaw that will lead to a more secure grip on the fish. Just like a Boga Grip, you should be able to hold the fish up with the device when attached properly.When using an inverted hook style device, use either the same hole the hook made in the fish’s mouth or gently pierce the device through the soft tissue under the lower jaw. Both of these places will provide the least harm possible to the fish and securely fasten the device.
4. Don’t get discouraged:
Just like with any new fishing gear, learning how to use it properly and finding out what works best on your boat takes a little bit of time. The first-time descending doesn’t always go smoothly, but after a couple of trips descending will be a positive part of your fishing experience and you will spend more time catching and less time struggling to release a floater.
Return ‘Em Right: Help Reef Fish Survive Release, Get Free Gear!
Return ‘Em Right is a new program that is the leading voice for tackling catch and release mortality due to barotrauma in the Gulf. Their mission is to improve reef fish survival by equipping anglers with the knowledge and gear to release reef fish confidently and successfully. Offshore anglers can visit returnemright.org to learn about barotrauma and participate in a short 15-minute training on best release practices, including venting and descending. Upon completion, eligible anglers will receive a package of release gear for free which includes a SeaQualizer pre-rigged to a 3-pound weight and an inverted hook descending device (~$100 value).
Bio-Sketch:
Nick Haddad is the Sustainable Fisheries Communications Manager, Florida Sea Grant & Return ‘Em Right. He holds a BS in Marine Biology from the University of Tampa, MS in Renewable Natural Resources concentrated in Fisheries and Aquaculture Management from Louisiana State University. Nick is an avid fisherman with 24 years of experience ranging from fly fishing in small streams in Pennsylvania to bottom fishing in the middle of the Gulf and everything in between.